
ORSKEY Dash Cam
A practical dash cam (1080p front, dual front and rear) that captures clear evidence on the road for insurance and disputes.
Fitting a dash cam takes about ten to twenty minutes for a basic install. The goal is a secure mount, a clear view, and a tidy cable that does not obstruct you or the airbags.
Mount the camera behind the rear-view mirror so it does not block your view, and clean the glass first so the adhesive or suction holds. Route the power cable up into the headlining, across to the A-pillar, and down to the 12V socket or fuse box, tucking it under the trim. Avoid running cable across airbag areas. For a rear camera, run the cable along the headlining to the tailgate.
For simple use, plug into the 12V socket so the camera turns on and off with the ignition. For parking mode, fit a hardwire kit to a fused circuit (an add-a-fuse makes this tidy) so the camera can run with the engine off, protected by its low-voltage cut-off. Finally, insert a high-endurance microSD card and set the time, date and resolution.
A practical dash cam (1080p front, dual front and rear) that captures clear evidence on the road for insurance and disputes.

A practical dash cam (GPS) that captures clear evidence on the road for insurance and disputes.

A practical dash cam (2K/1440p front, dual front and rear, GPS) that captures clear evidence on the road for insurance and disputes.
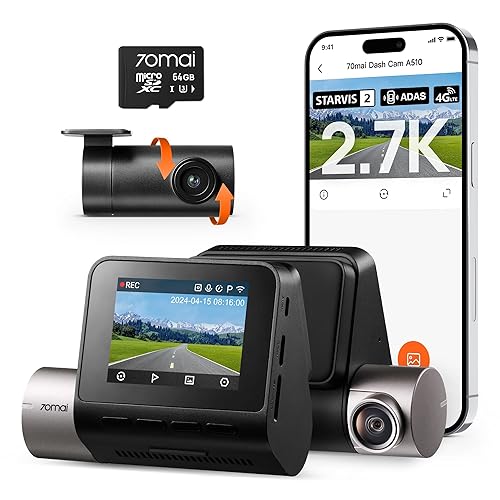
A practical dash cam (1080p front, dual front and rear, GPS) that captures clear evidence on the road for insurance and disputes.
The 12V socket is simplest and fine if you only record while driving. Hardwiring is needed for parking mode and gives a tidier, permanent install with no dangling cable.
Our top pick is the ORSKEY Dash Cam (our score 9.6/10) - A practical dash cam (1080p front, dual front and rear) that captures clear evidence on the road for insurance and disputes..